Authenticating to MotherDuck
MotherDuck supports two types of authentication:
- Manual authentication, typically used by the MotherDuck UI
- Authentication using an access token, more convenient for Python, CLI or other clients.
Manual authentication
MotherDuck UI authenticates using several methods:
- Github
- Username and password
You can leverage multiple modes of authentication in your account. For example, you can authenticate both via Google and via username and password as you see fit.
To authenticate in CLI or Python, you will be redirected to an authentication web page. Currently, this happens every session. To avoid having to re-authenticate, you can save your access token, as described in the Authenticate With an Access Token section.
Authentication using an access token
If you are using Python or CLI and don't want to authenticate every session, you can securely save your credentials locally.
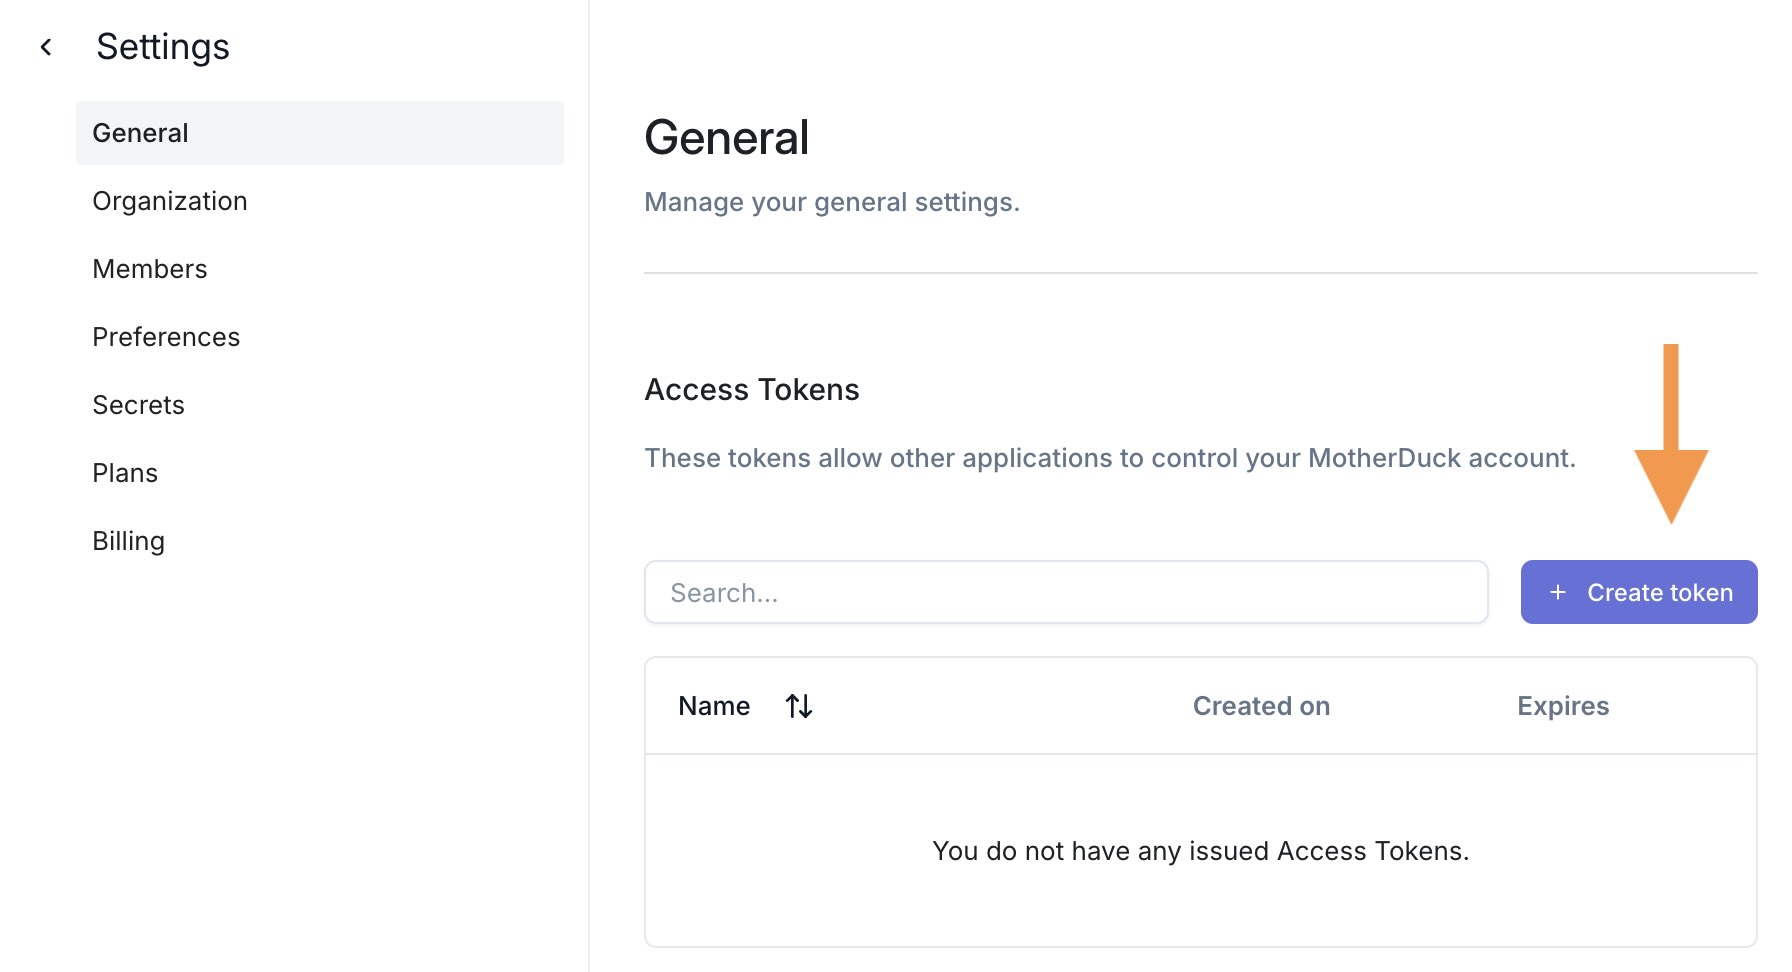
Creating an access token
To create an access token:
- Go to the MotherDuck UI
- In top left click on organization name and then
Settings - Click
+ Create token - Specify a name for the token that you'll recognize (like "DuckDB CLI on my laptop")
- Specify the type of token you want. Tokens can be Read/Write (default) or Read Scaling.
- Choose whether you want the token to expire and then click on
Create token - Copy the access token token to your clipboard by clicking on the copy icon

Storing the access token as an environment variable
You can save the access token as motherduck_token in your environment variables.
An example of setting this in a terminal:
export motherduck_token='<token>'
You can also add this line to your ~/.zprofile or ~/.bash_profile, or store it in a .env file in your project root.
Once this is done, your authentication token is saved and you can connect to MotherDuck with the following connection string:
duckdb "md:my_db"
This is the best practice for security reasons. The token is sensitive information and should be kept safe. Do not share it with others.
Alternatively, you can specify an access token in the MotherDuck connection string: md:my_db?motherduck_token=<token>.
duckdb "md:my_db?motherduck_token=<motherduck_token>"
When in the DuckDB CLI, you can use the .open command and specify the connection string as an argument.
.open md:my_db?motherduck_token=<motherduck_token>
Using connection string parameters
Authentication using SaaS mode
You can limit MotherDuck's ability to interact with your local environment using SaaS Mode:
- Disable reading or writing local files
- Disable reading or writing local DuckDB databases
- Disable installing or loading any DuckDB extensions locally
- Disable changing any DuckDB configurations locally
This mode is useful for third-party tools, such as BI vendors, that host DuckDB themselves and require additional security controls to protect their environments.
You can enable SaaS mode in two ways:
-
Using a configuration setting (recommended for persistent configuration):
SET motherduck_saas_mode = true; -
Using a connection string parameter (for connection-time configuration):
- CLI
- Python
.open md:[<database_name>]?[motherduck_token=<motherduck_token>]&saas_mode=true
conn = duckdb.connect("md:[<database_name>]?[motherduck_token=<motherduck_token>]&saas_mode=true")
Using the connection string parameter requires to use .open when using the DuckDB CLI or duckdb.connect when using Python. This initiates a new connection to MotherDuck and will detach any existing connection to a local DuckDB database.
Using attach mode
By default, when you connect to MotherDuck, you will be connected to all databases you have access to.
If you want limited the connection to only one database, you can use the attach_mode with the value single.
For example, to connect to a database named my_database, run:
duckdb 'md:my_database?attach_mode=single'
<database_name> that starts with a number cannot be connected to directly. You will need to connect without a database specified and then CREATE and USE using a double quoted name. Eg: USE DATABASE "1database"